
As my testing always interferes with running assembly directly in kernel-level and unfortunately Microsoft no longer supports x64 inline assembly through their compilers and as I always have struggle creating a simple inline assembly project so I decided to create a post to describe how to create a Windows Driver Kit project with Inline assembly to run kernel code directly in a kernel driver.
This terms only applies to x64 Windows Kernel Driver, you can use _asm and asm directly in your code in x86 drivers and user-mode codes, Linux also supports x64 Inline assembly in their kernel modules.
Let’s get down to business.
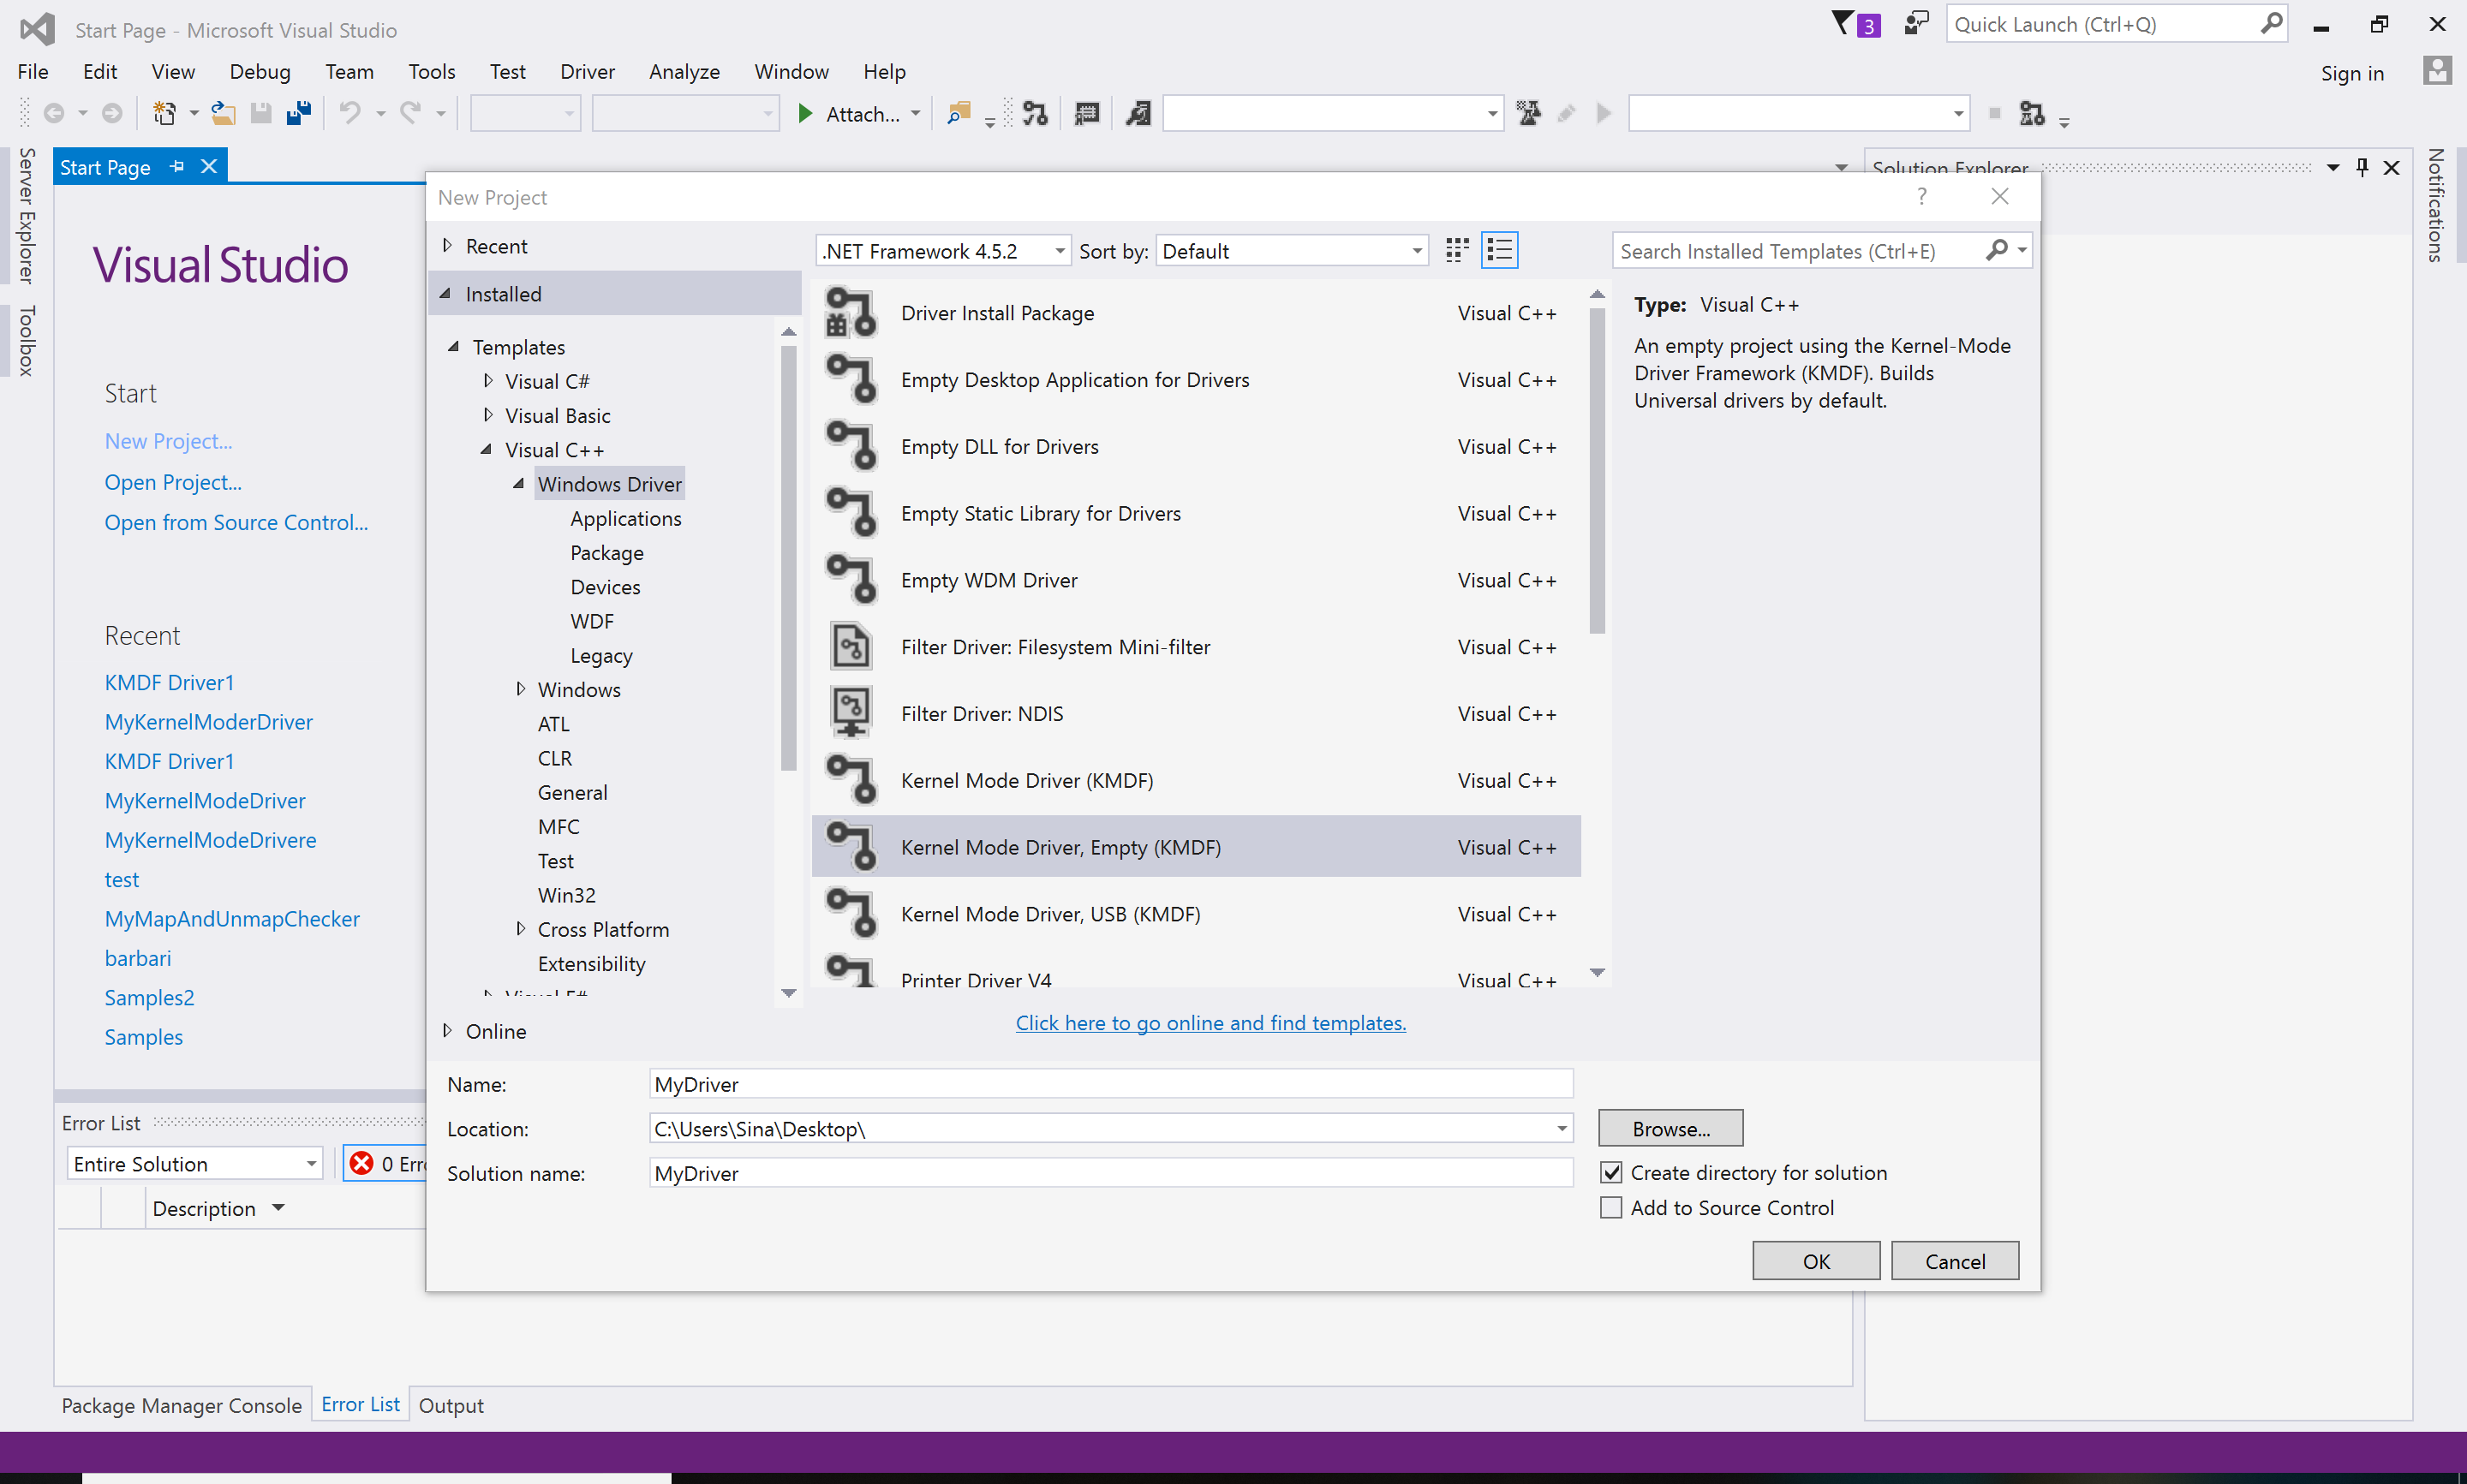
First of all, you should have Windows WDK support in your visual studio, just follow the steps here, then after downloading Windows Driver Kit and Windows SDK then you can create a WDK Project in your visual studio like this :
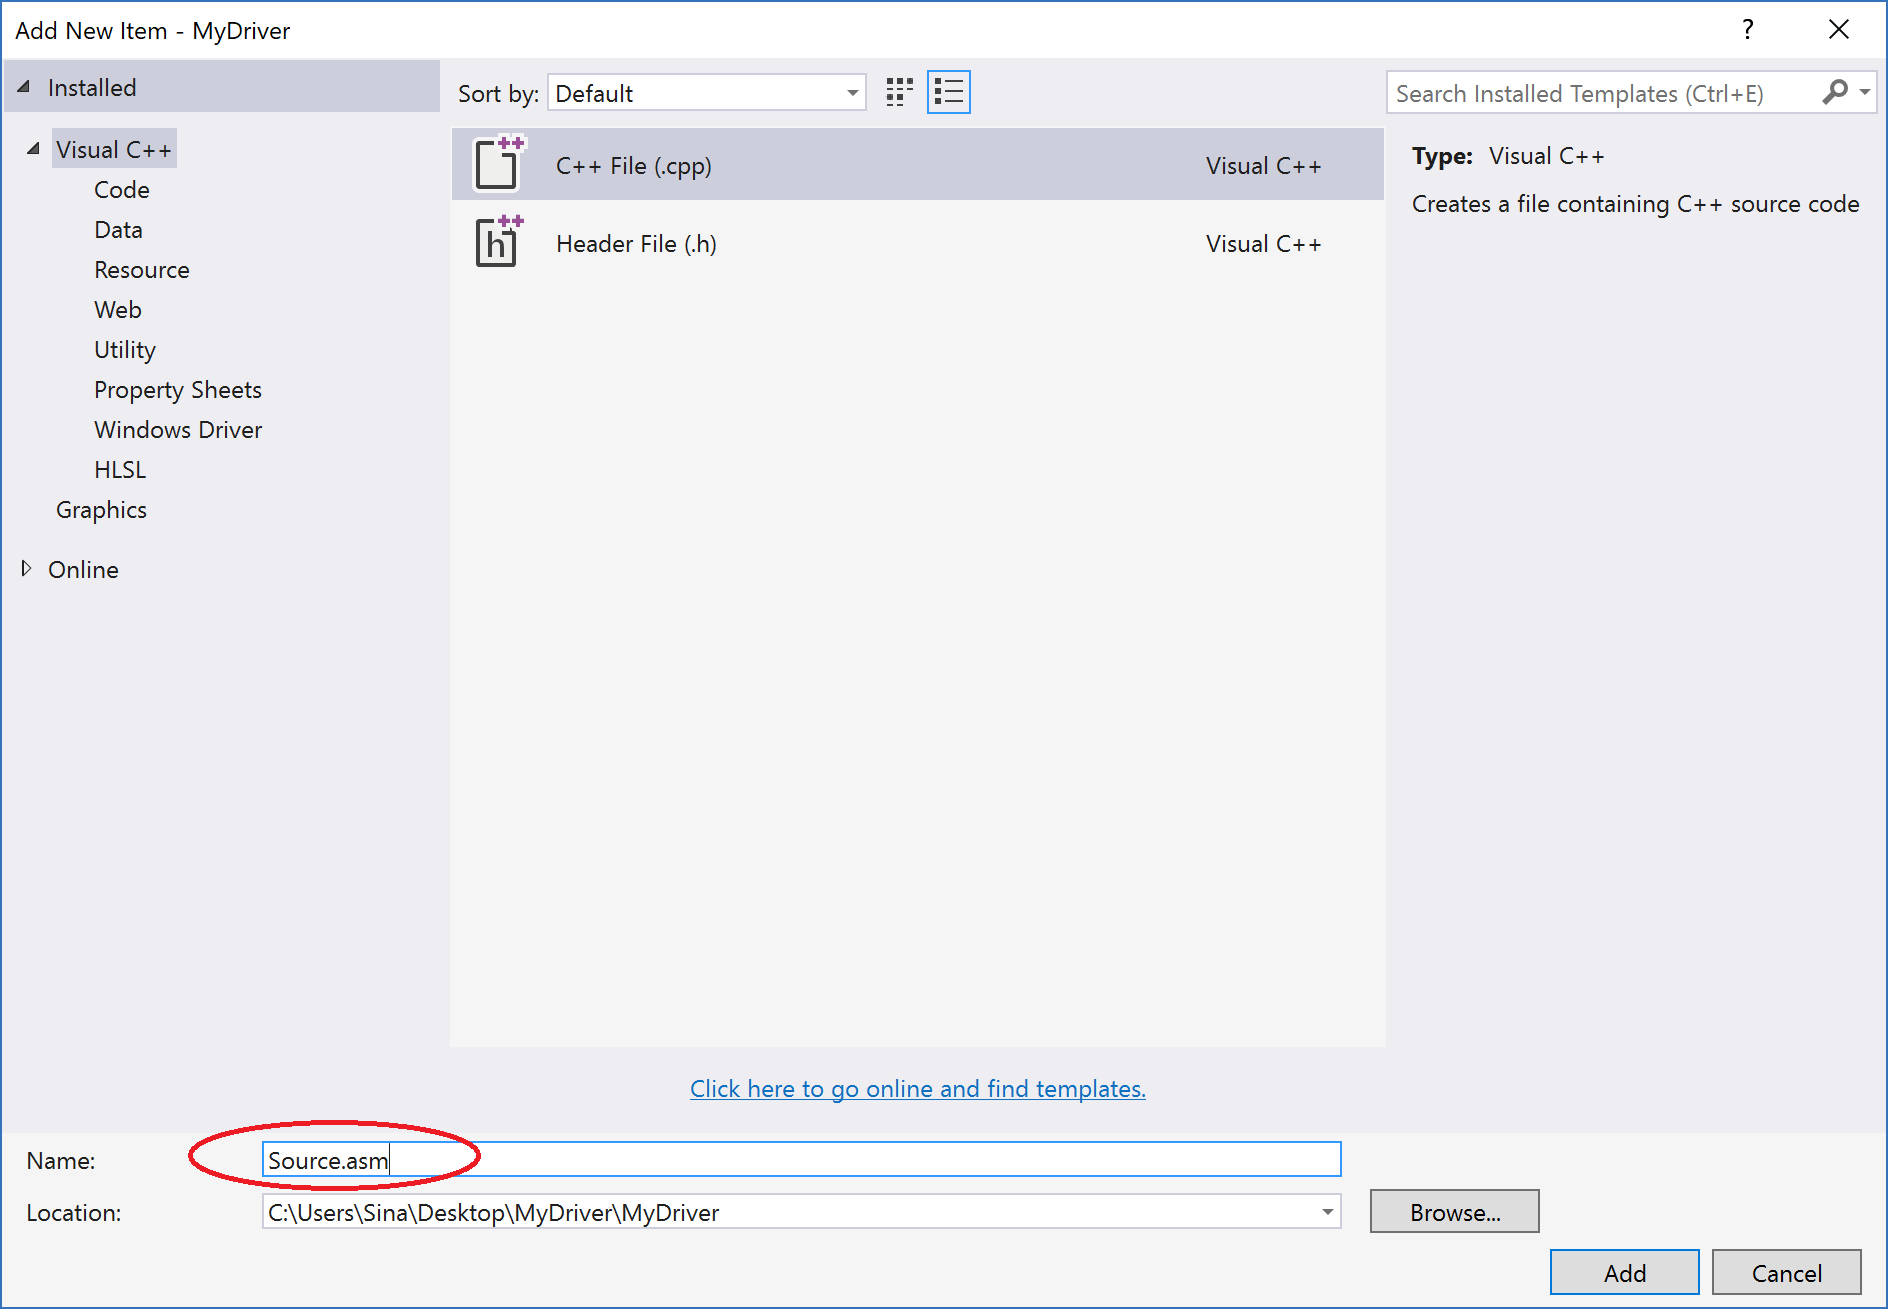
So I created a project named MyDriver after that you should add some files to your project. As you might know, you should create a .asm file beside your .c (code) and .h (header) files thus I created two files named (source.cpp)
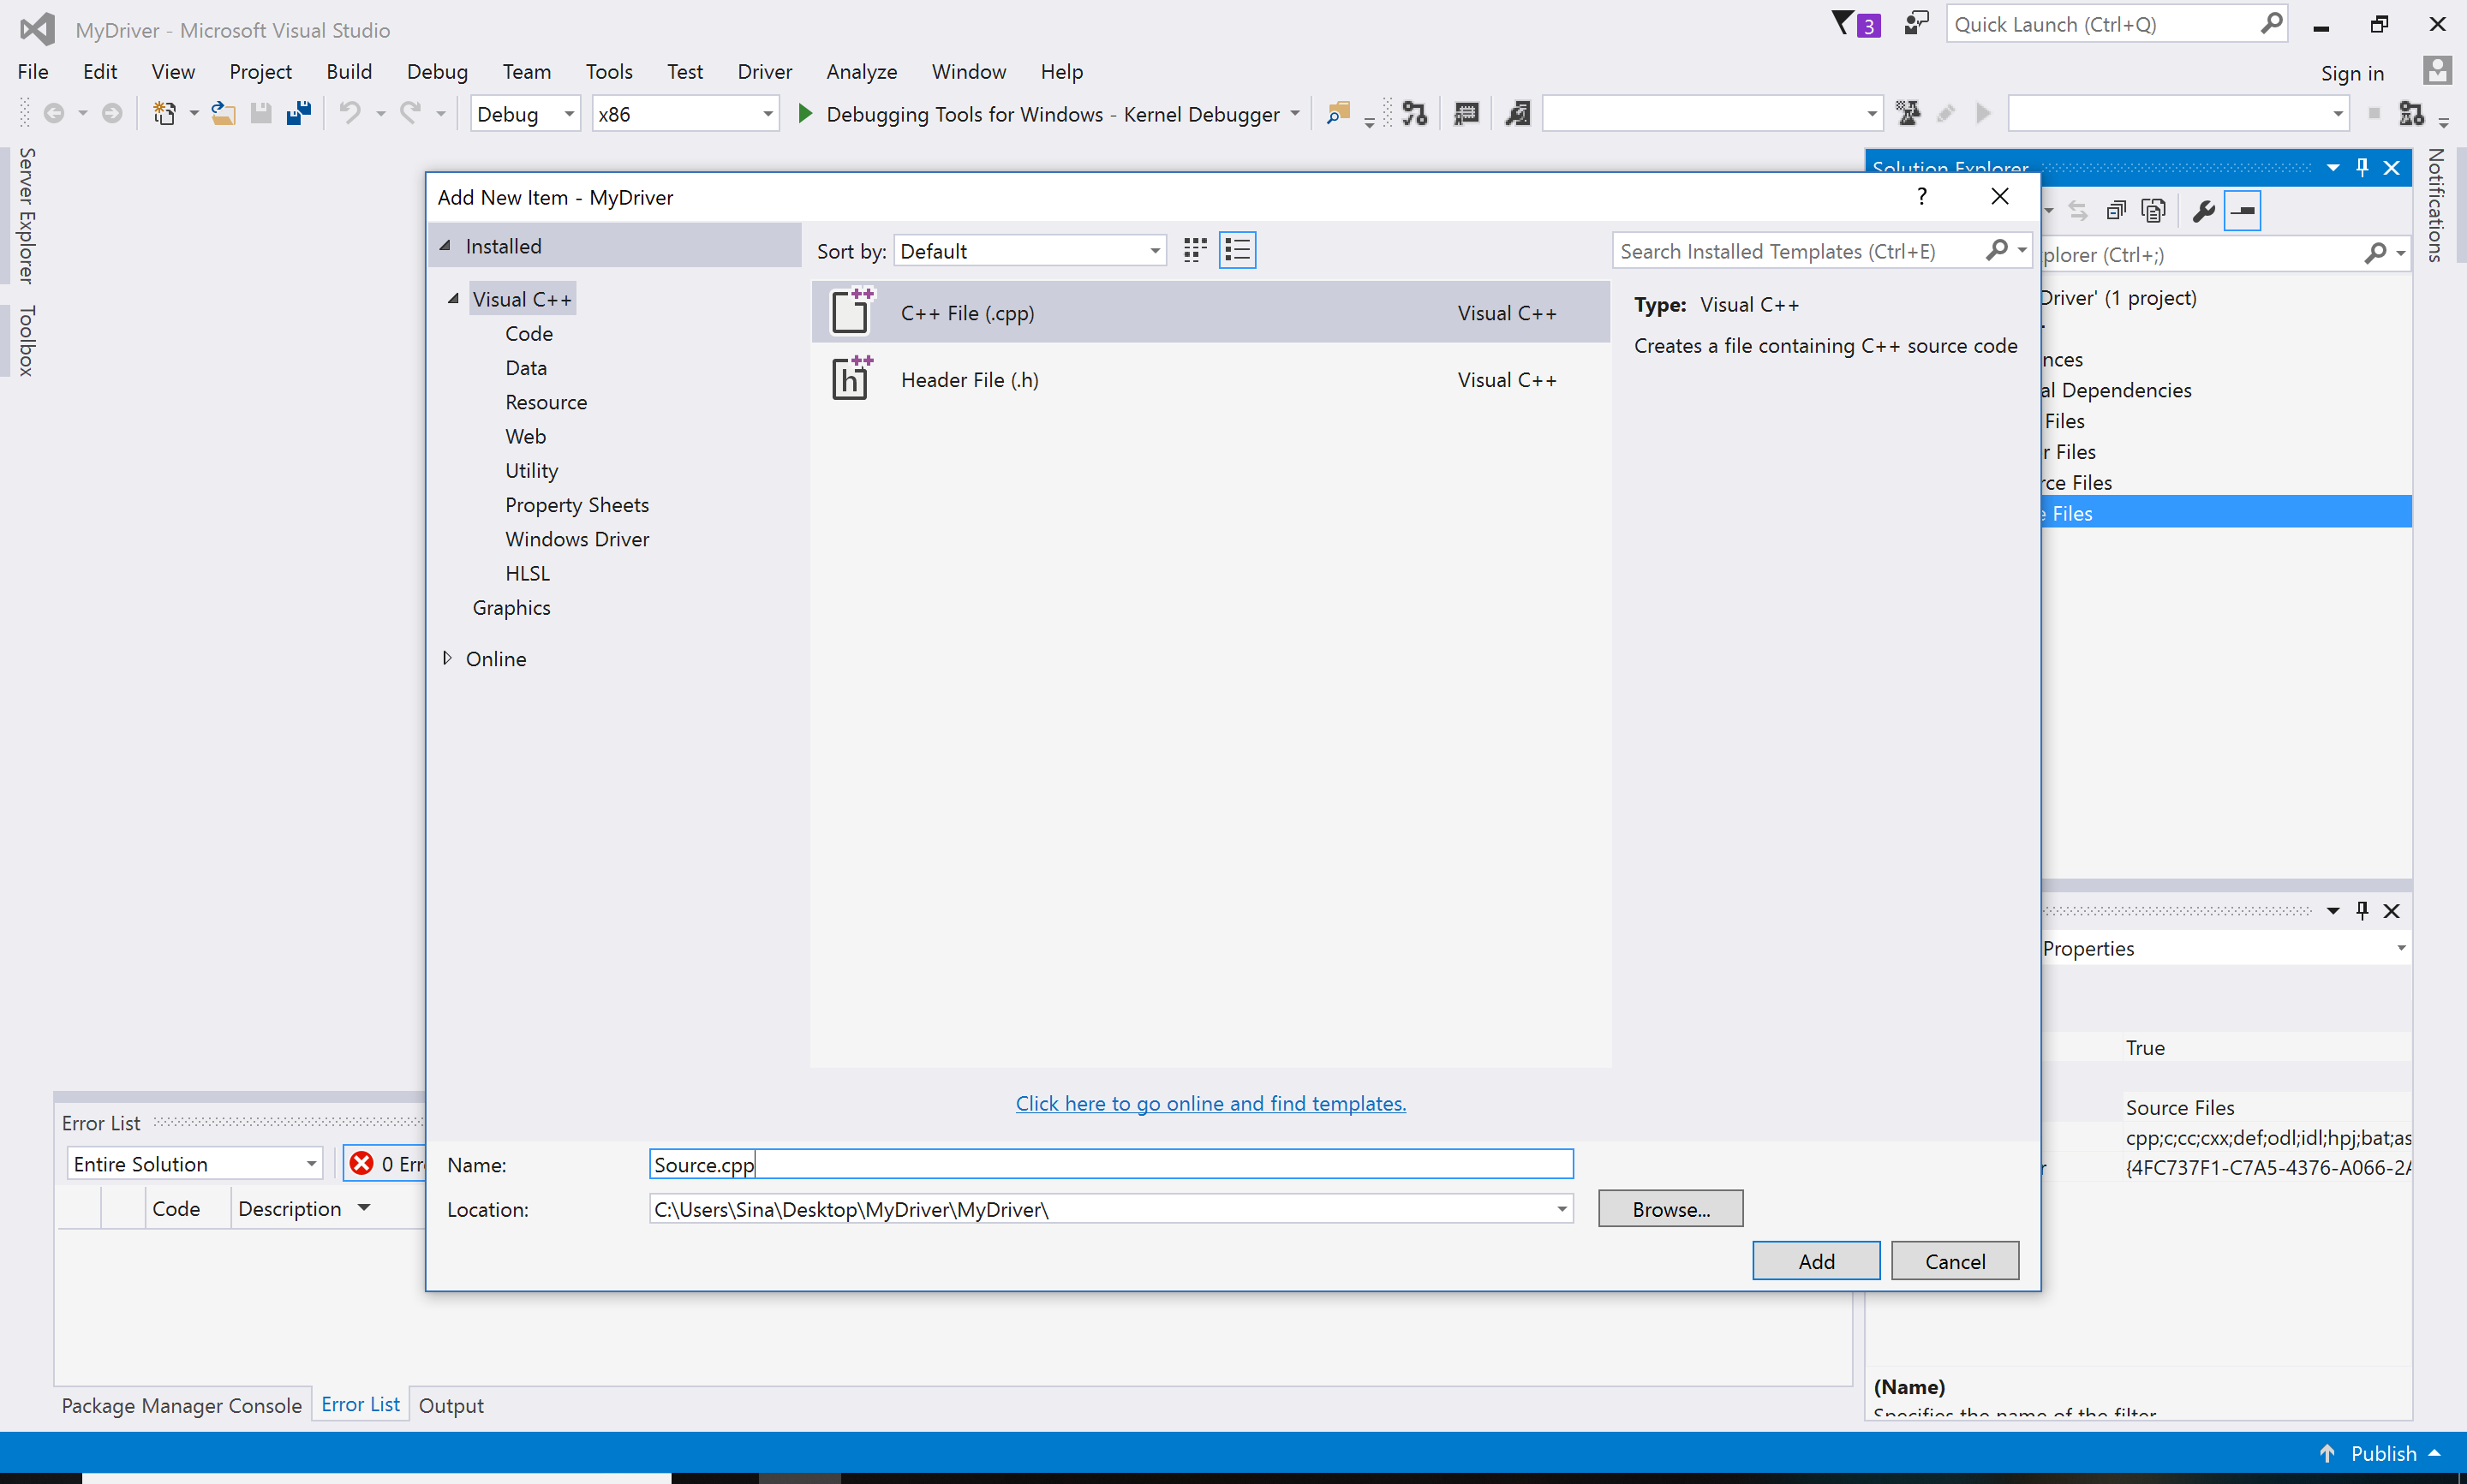
and the other file is source.asm.
I made a simple assembly function (Masm) along with a simple driver entry function, you can add these files to your project. For example the following lines for source.asm.
1
2
3
4
5
6
7
8
9
10
11
12
13
14
15
16
17
18
PUBLIC MainAsm
.code _text

MainAsm PROC PUBLIC
push rax

; do stuffs here

pop rax
ret
MainAsm ENDP

MainAsm2 PROC PUBLIC
int 3
ret
MainAsm2 ENDP

END
There are some important notes here,
- Your function should ends with ret, if not it never comes back from your function and as long as you are in the kernel, every error lead to a BSOD.
- The other important note is you are responsible for the calling convention used in your driver (for passing arguments or clearing the stack).
- The default calling convention in Windows x64 driver is fastcall so in most situations, all the parameters placed in the registers and you are not forced to clear anything before ret.
The other file is driver entry (Source.cpp), you can use something like :
1
2
3
4
5
6
7
8
9
10
11
12
13
14
15
16
17
18
19
20
21
22
23
24
25
26
27
28
29
#include <ntddk.h>
#include <wdf.h>

extern void inline MainAsm(void);
extern void inline MainAsm2(void);

VOID Unload(IN WDFDRIVER Driver)
{}

NTSTATUS MyDriverEntry(_In_ PDRIVER_OBJECT     DriverObject,
	_In_ PUNICODE_STRING    RegistryPath)
{

	// NTSTATUS variable to record success or failure
	NTSTATUS status = STATUS_SUCCESS;

	// Allocate the driver configuration object
	WDF_DRIVER_CONFIG config;

	WDF_DRIVER_CONFIG_INIT(
		&config,
		WDF_NO_EVENT_CALLBACK // This is a non-pnp driver.
	);

	config.EvtDriverUnload = Unload;
	MainAsm();

	return status;
}
Please note that I defined MainAsm and MainAsm2 from the previous assembly file as function name so that I can use it directly in my DriverEntry or etc.
Make sure to change the architecture to x64.

That’s it, build your project and you can use tools like OSR Driver Loader from osronline.com to load your driver.
Almost in all current Windows versions (<=Window 7) you should disable Driver Signature Enforcement, a protection for Windows to prevent non-verified drivers or rootkits to go in ring 0.
Update :
If you see some errors like this in your building process,

Then make sure to add your driver entry in properties -> Linker -> All Options -> search for the entry point.

That should solve the problem.
I also added the source of this project on my GitHub, take a look at :
[https://github.com/SinaKarvandi/x64-Driver-Inline-Assembly/]
Comments powered by Disqus.